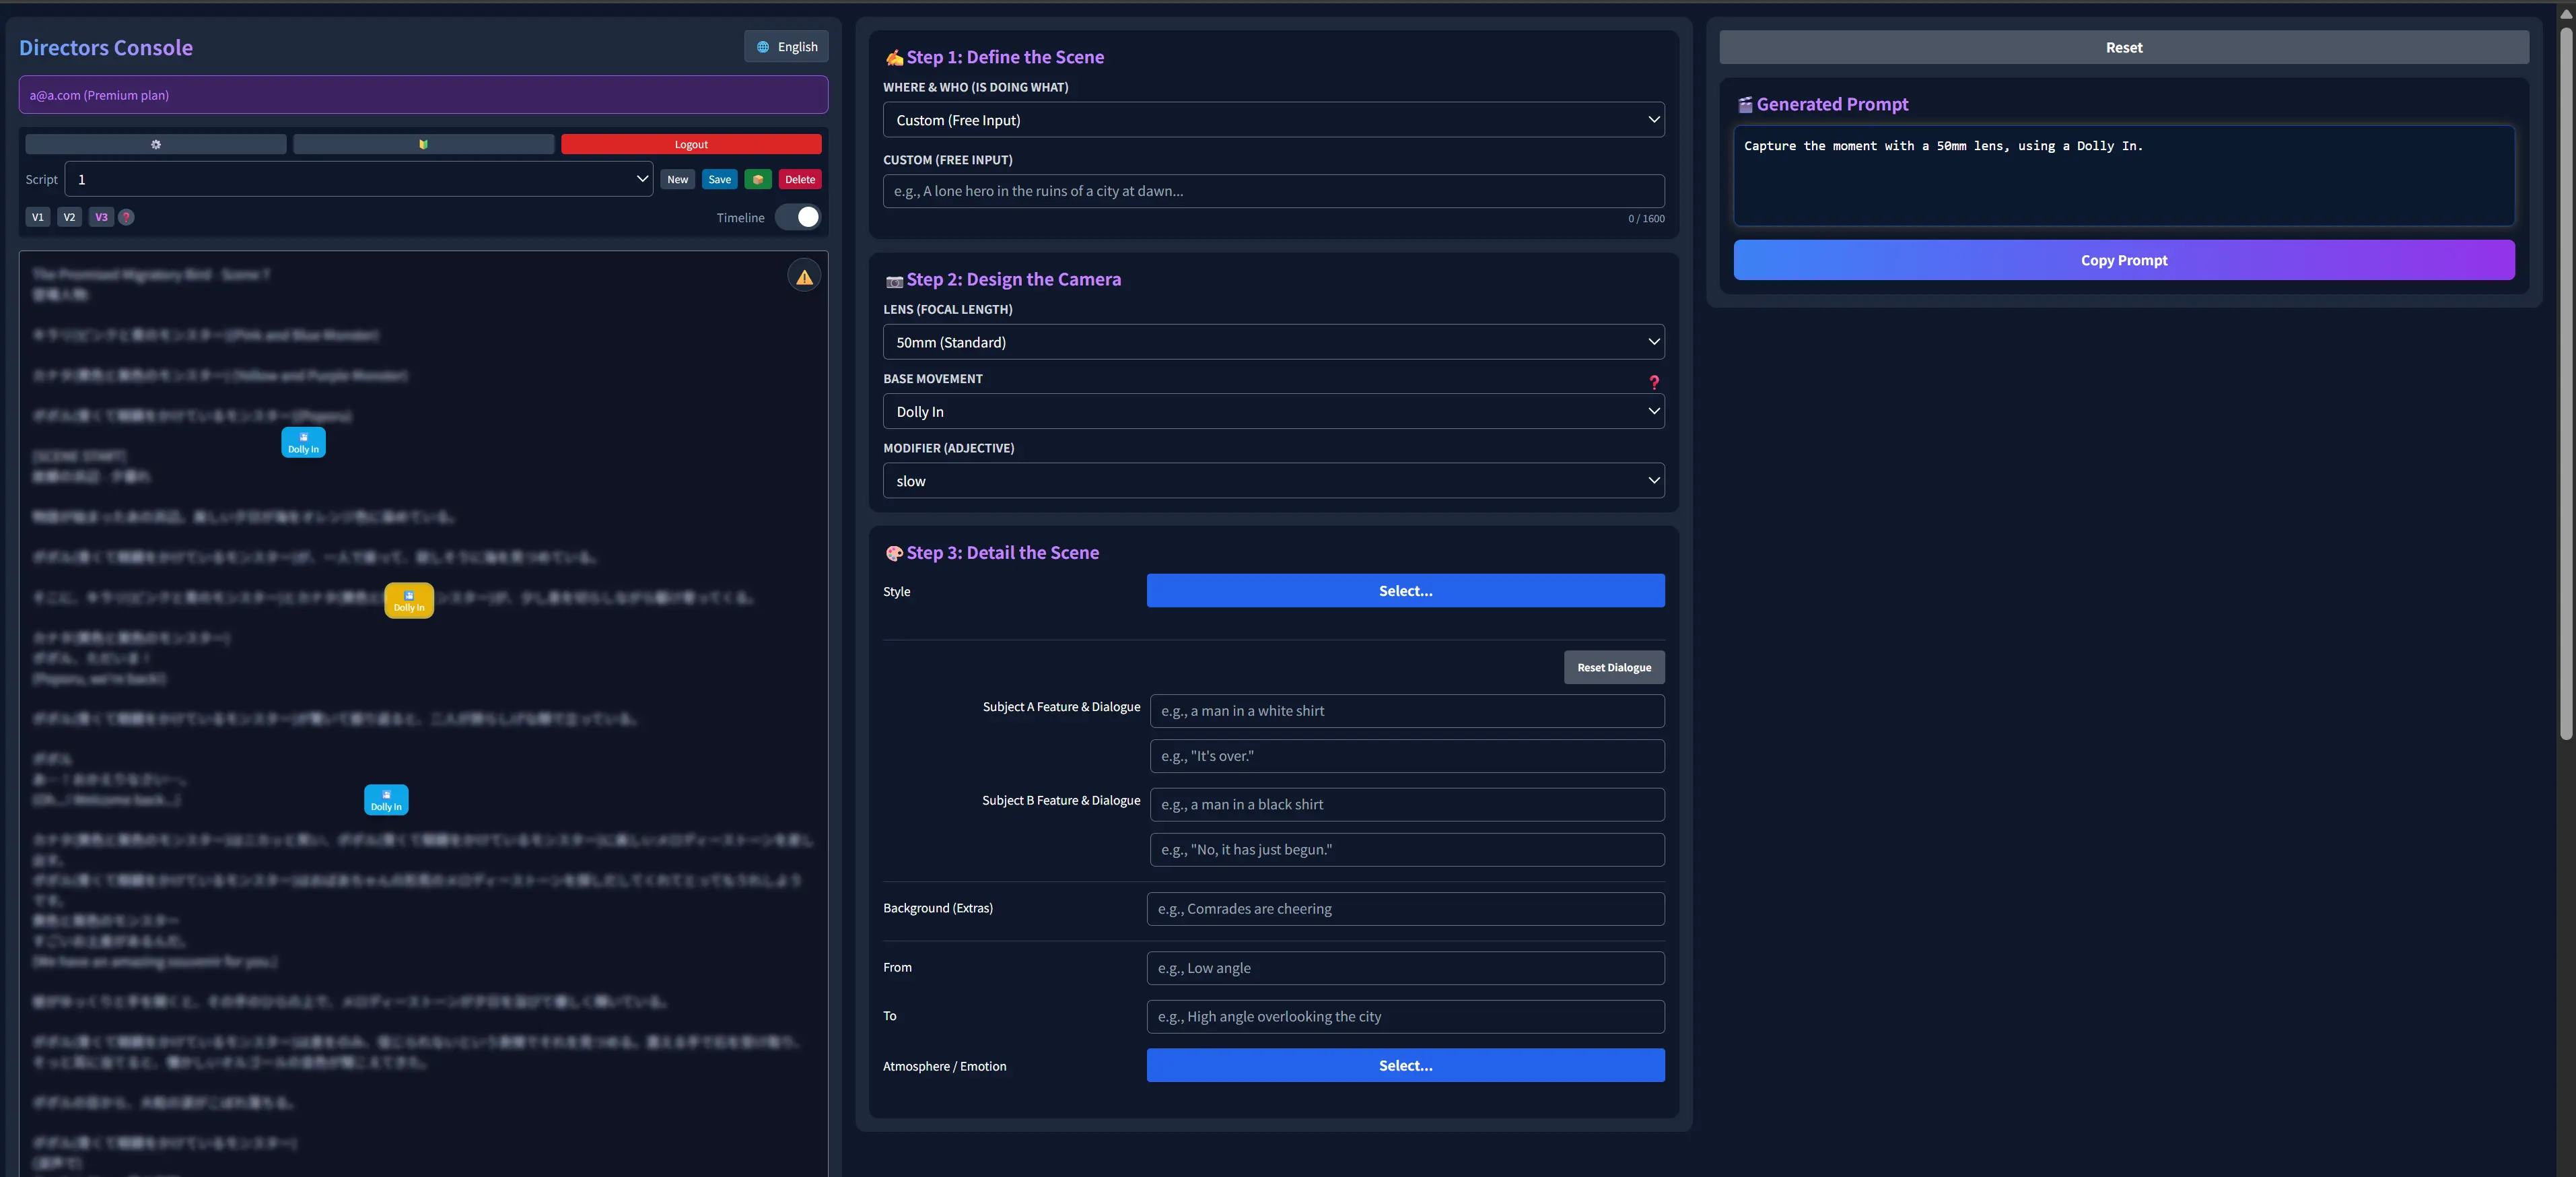


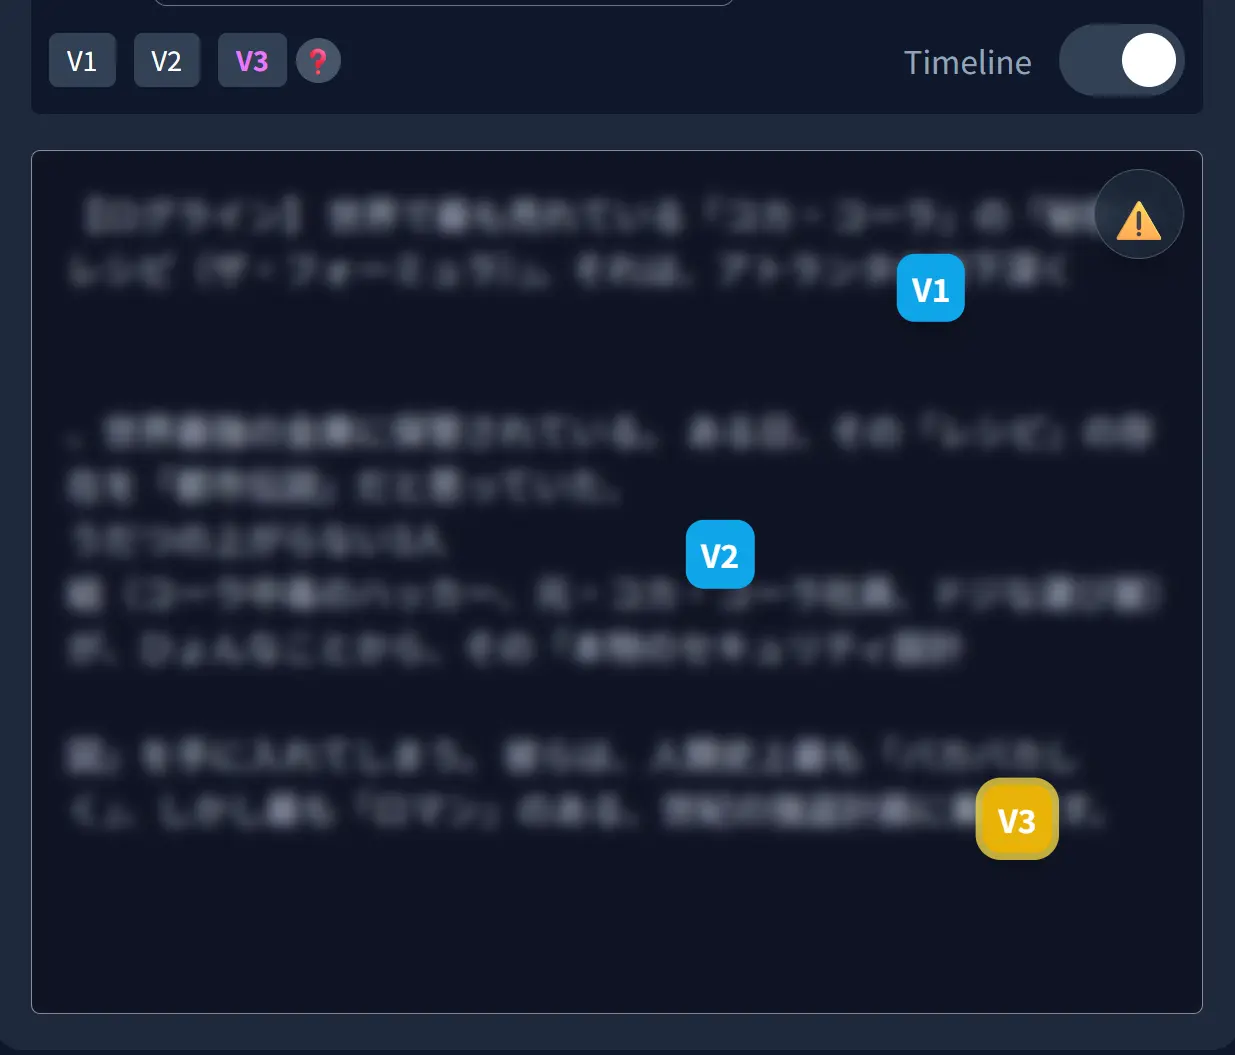

Timeline on / off
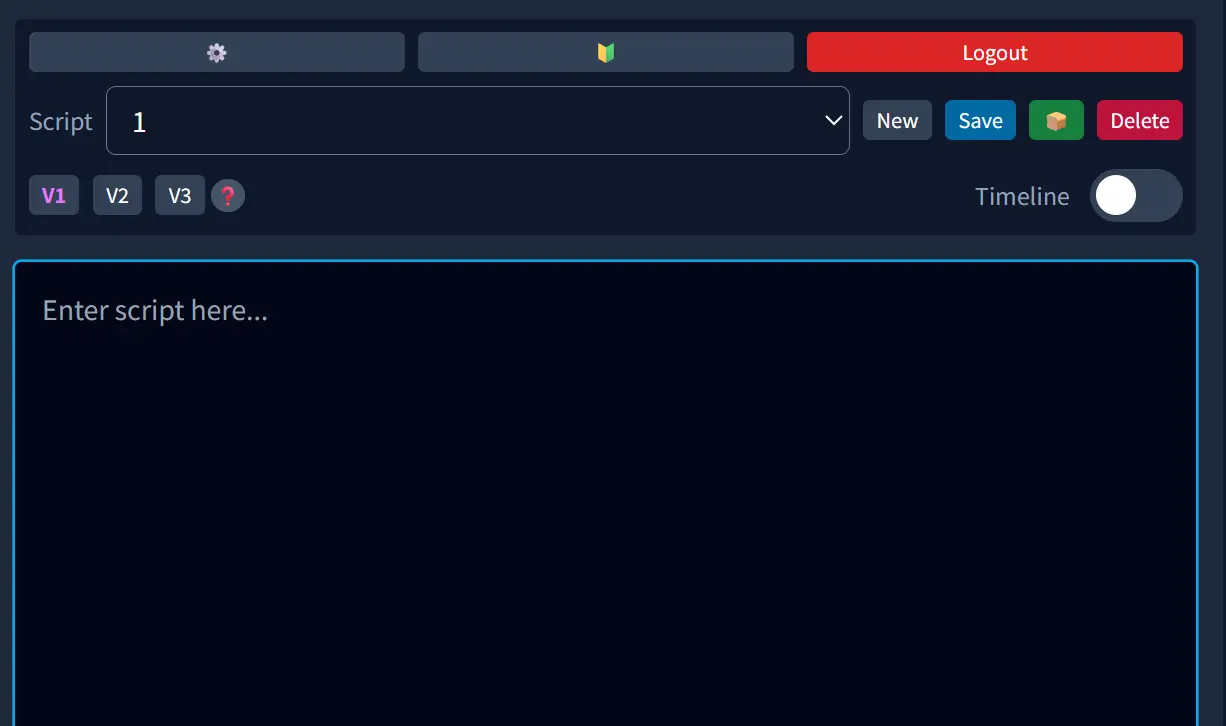
- Off: edit the script in the textarea. You cannot place stickies.
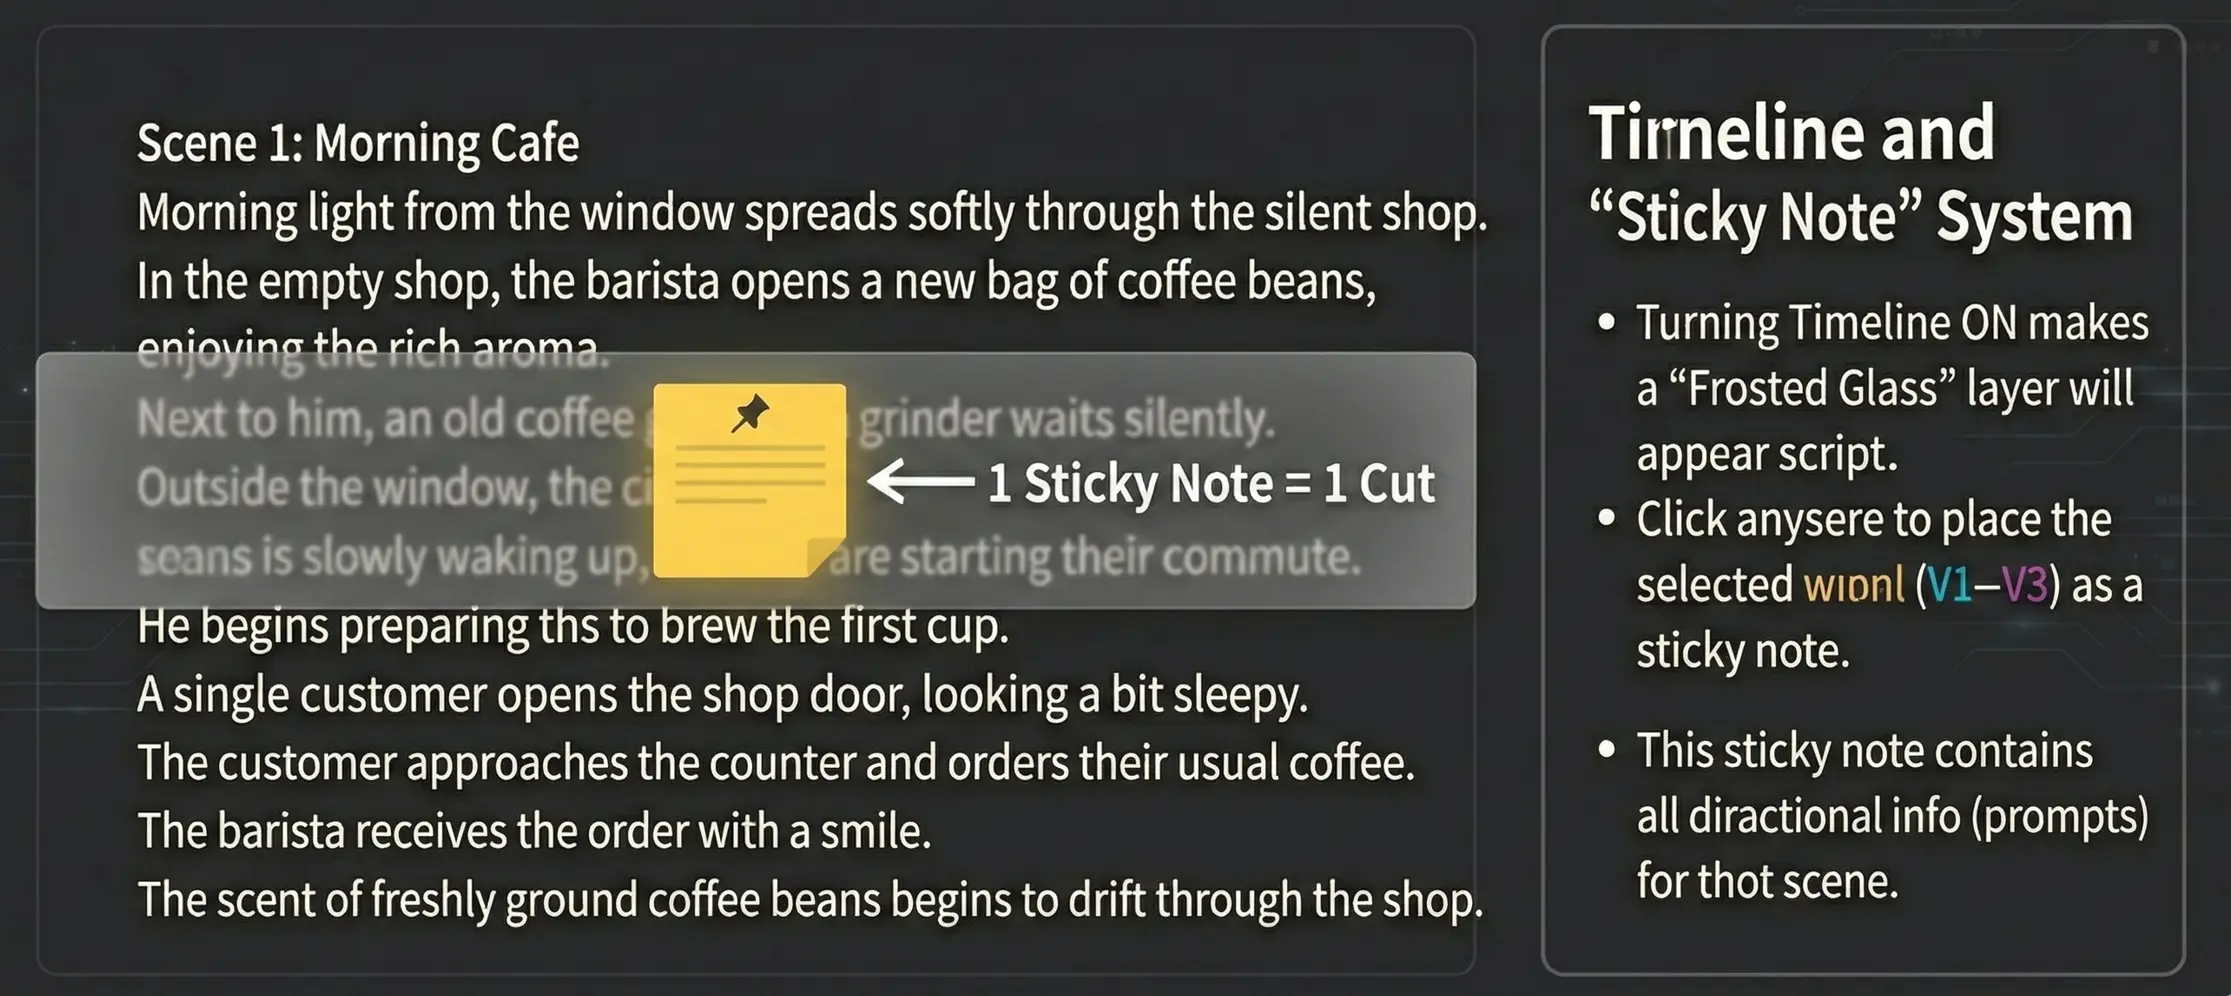
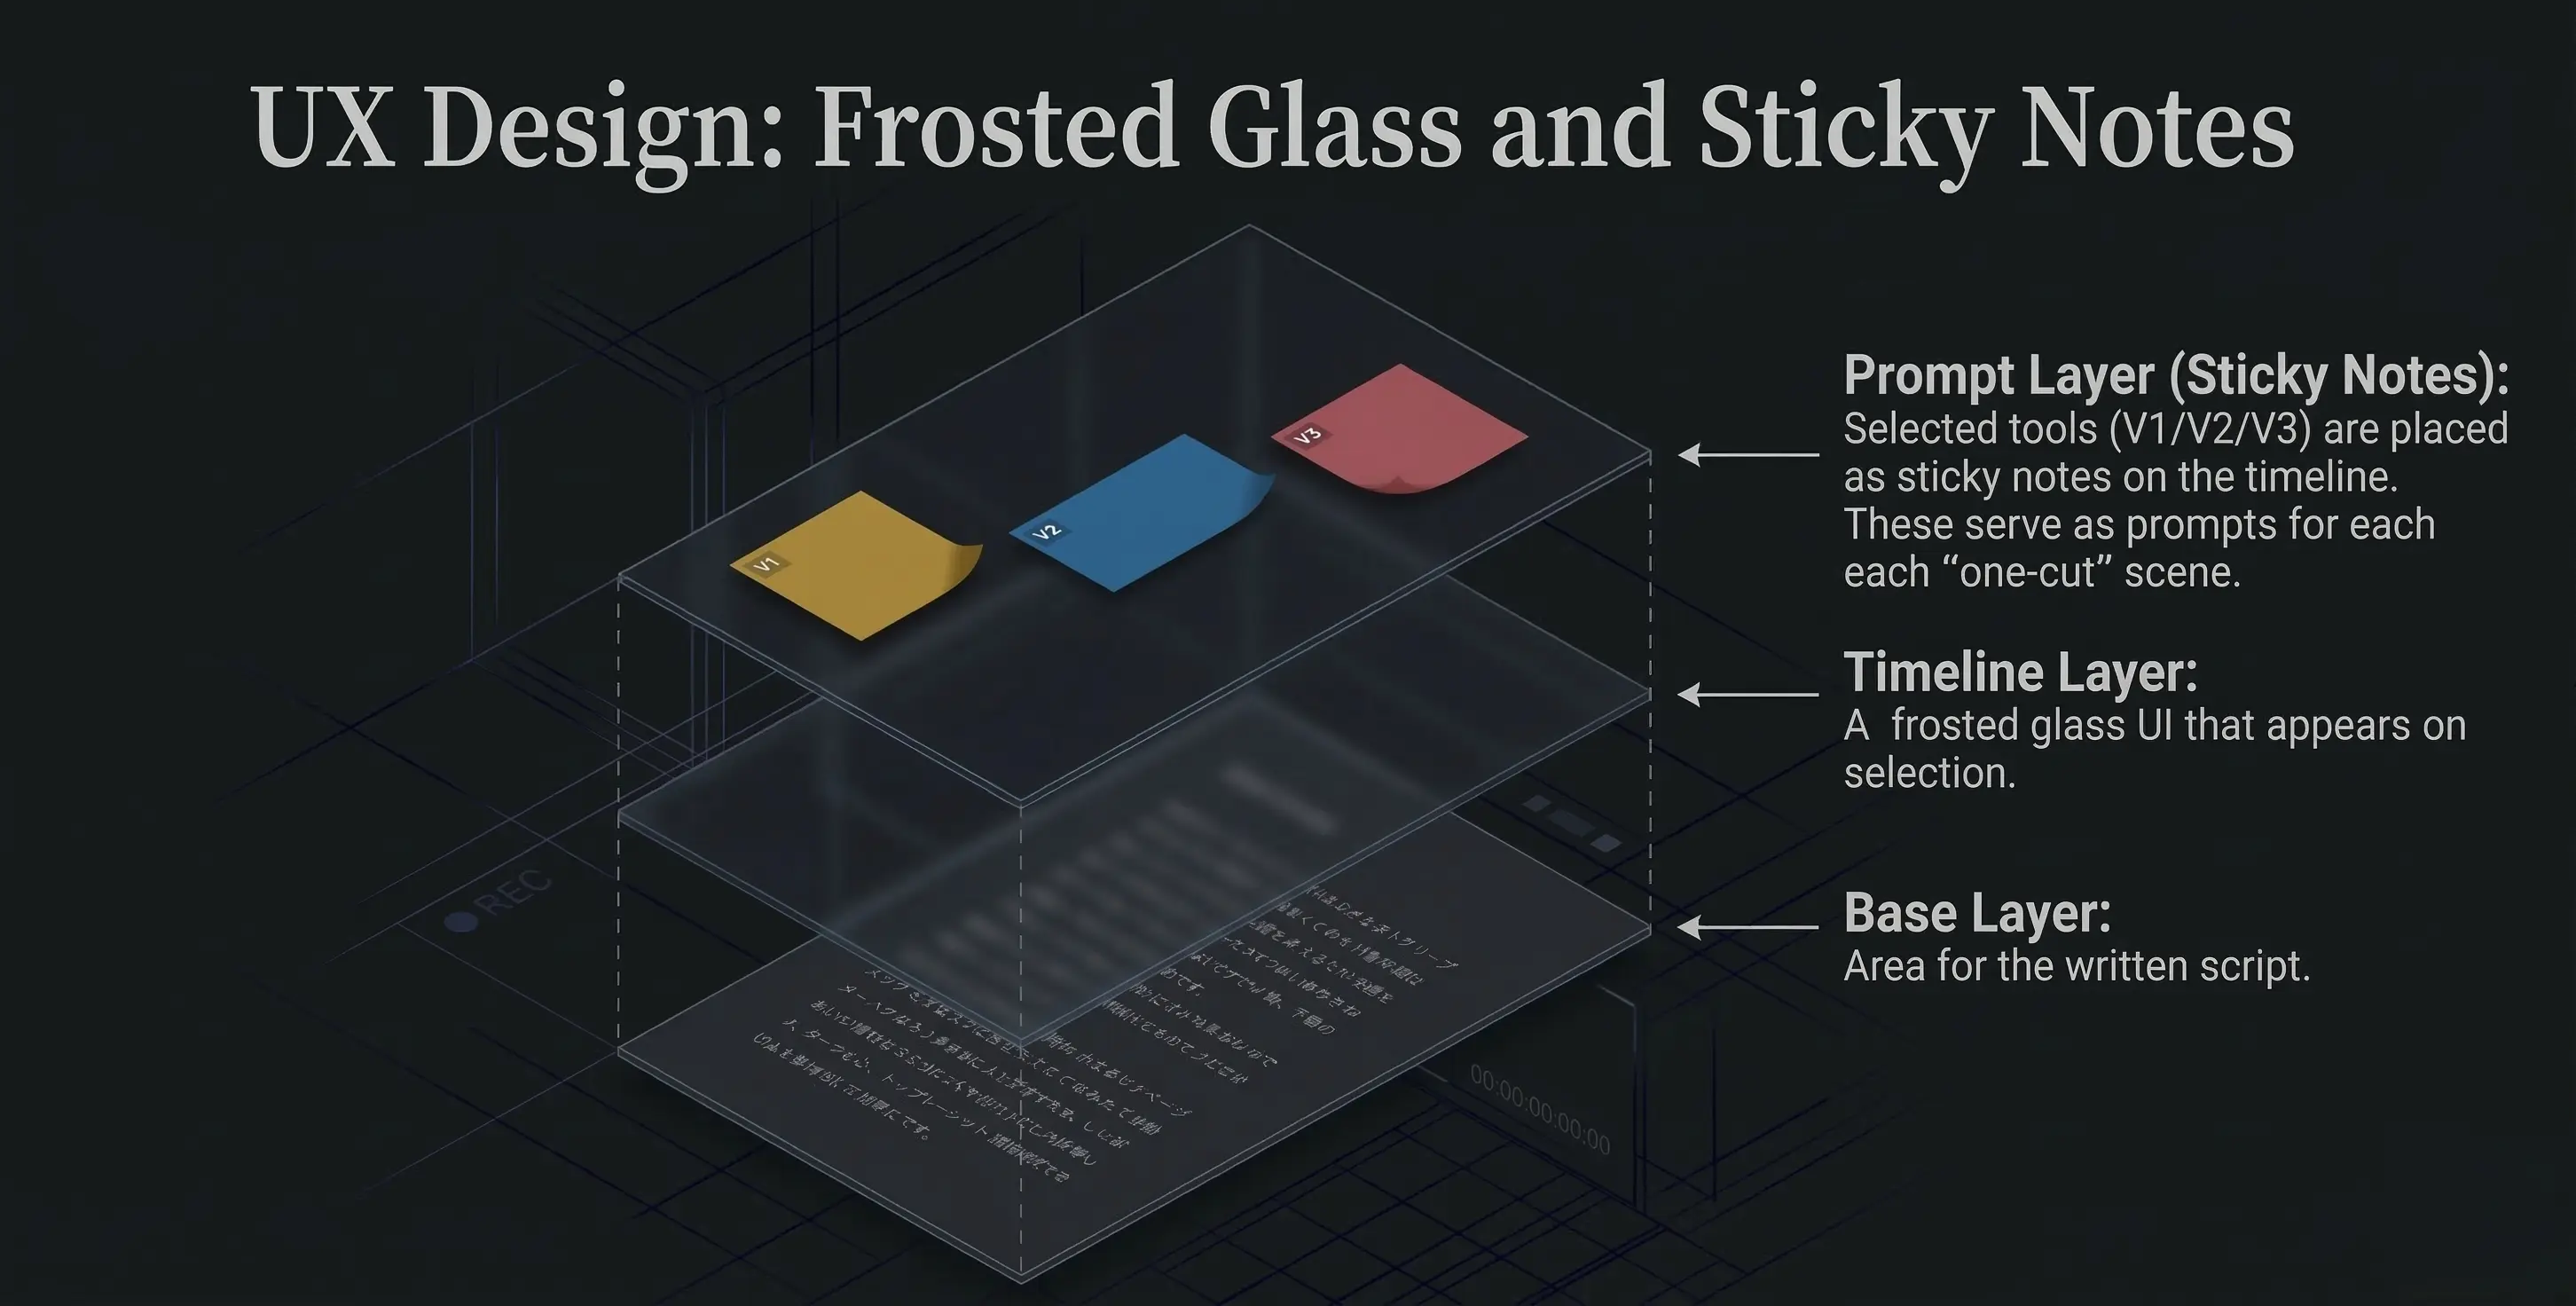
- On: a frosted layer sits over the script; click to place stickies (cuts).
- Scroll position is preserved when you toggle. If you scroll in timeline view then turn it off, the script returns near that same position.